Get Winter and Holiday Ready with Homemade Fire-starters
By Jo Anna Natale, Fairfax Master Gardener
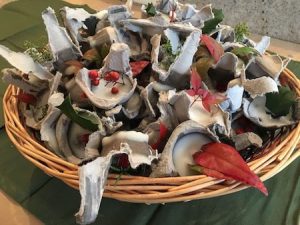
Basket of fire-starters
Everything about these fire-starters resonates with the gardener in me. By making my own, I create something out of nothing, I keep waste from the landfill and I can share my “produce” with others. In fact, the fire-starters are a practical holiday gift that my relatives appreciate each year.
As holiday projects go, fire-starters are fun and easy to make –compared to, say, fruitcake — and the components are readily available. To make some yourself, you’ll need:
- A stack of cardboard egg-cartons, minus their lids
- Dryer lint (as much as you can muster)
- Broken, wickless or otherwise useless candle pieces
- An empty tin can – 100-plus ounces
- An old pot, large enough to hold that can, with room to spare
- An empty cat-food can or a small, metal ladle
- A sturdy stick for stirring
- Newspapers for keeping your work space free of wax
- Pruners
- Decorative bits from the garden, such as rosemary sprigs, thyme leaves, lavender buds, holly and/or nandina leaves and berries, or tiny ornamental peppers
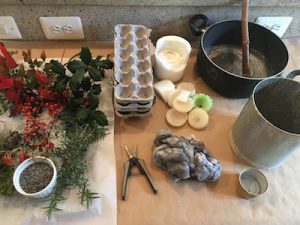
Materials
Put the pot on your stovetop and turn the heat to medium. As the wax begins to melt, stir it with the stick to help advance the process. Carefully drop in additional candle pieces as needed. Keep an eye on the hot wax, stirring it periodically. As it evaporates, add more water to the pot.
While the wax is melting, arrange the egg-carton bottoms on the newspapers. Pluck bits of dryer lint from the mass and drop a good-sized pinch into each egg cup.
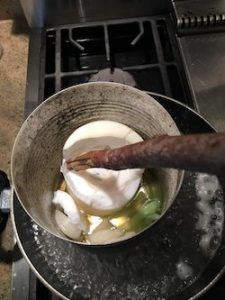 Melting wax |
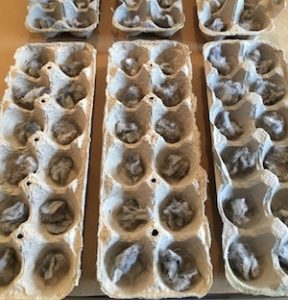 Place lint in egg cartons |
When the wax is thoroughly melted, use kitchen mitts to lift the big can from the pot and set it on your protected work surface. Caution! The can and its contents will be extremely hot.
Carefully dip the cat-food can (or ladle) into the melted wax, and then pour the wax into each egg cup, covering the lint. Fill a dozen cups. Then — before the wax sets — quickly add to the cups whatever garden garnishes you’d like. (Their function is mostly aesthetic, so this part is optional, but the added color and texture are a nice touch if you are giving the fire-starters as gifts.)
Fill additional egg cups — 12 at a time — with melted wax, before adding the plant parts, and keep going until you either have reached your fire-starter goal, or you have run out of materials.
Allow a few hours for the starters to set and cool completely. When the starters are ready, gently cut or tear apart the cups. No need to worry about precision here. Any cardboard peaks that remain will serve as good wicks to light.
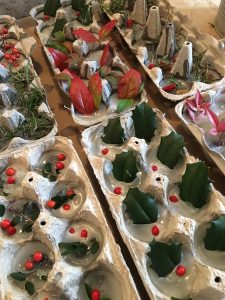
Finished fire-starters
For gift-giving, I package a dozen or two of the fire-starters in gift bags, baskets or boxes, finishing with a colorful ribbon or bow. And to make sure I’m ready for next year, I save all the utensils I’ve used in a bin, and add egg cartons, lint and candle remnants to it throughout the year.
For me — and soon maybe for you — making fire-starters is a tradition that signals the start of the holiday season and the winter-warming blazes to come.